
Model Generation
Table Of Contents
Create Your Model From A Database
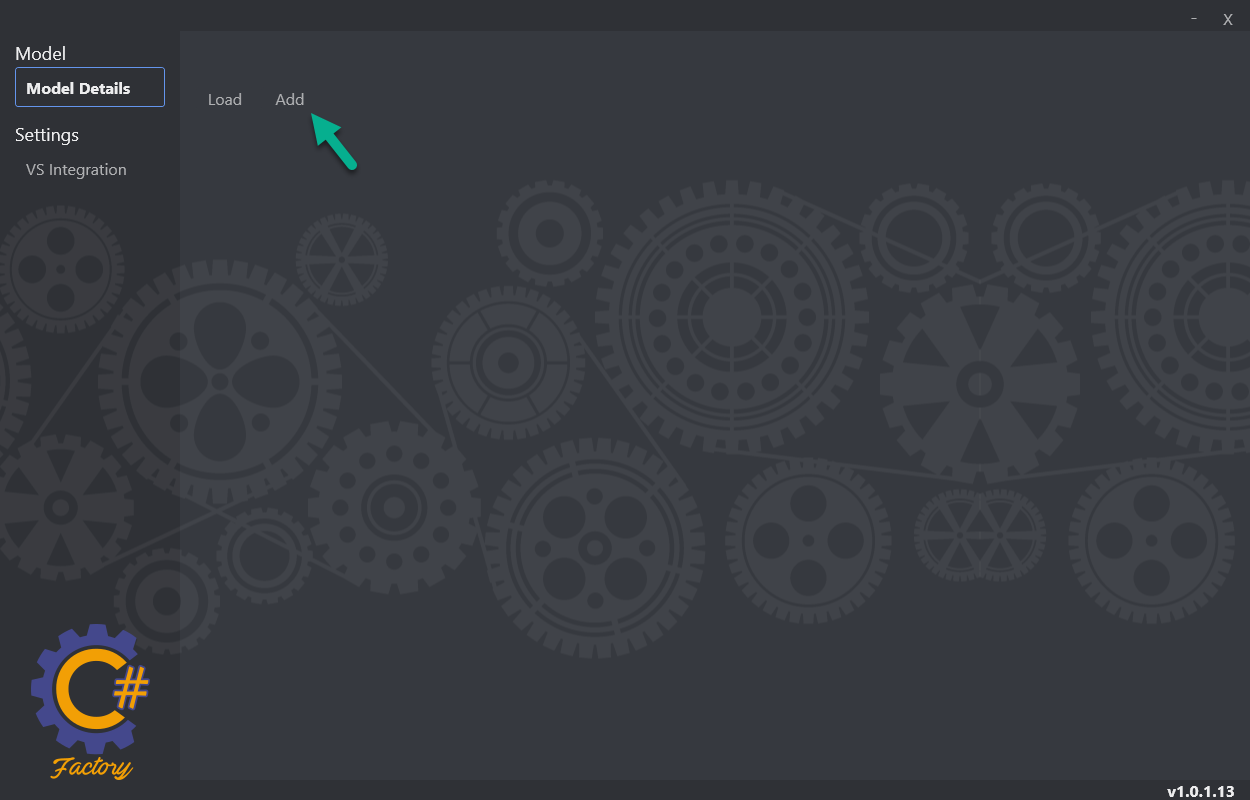
Fire up your Sharp Factory App and click on Add.
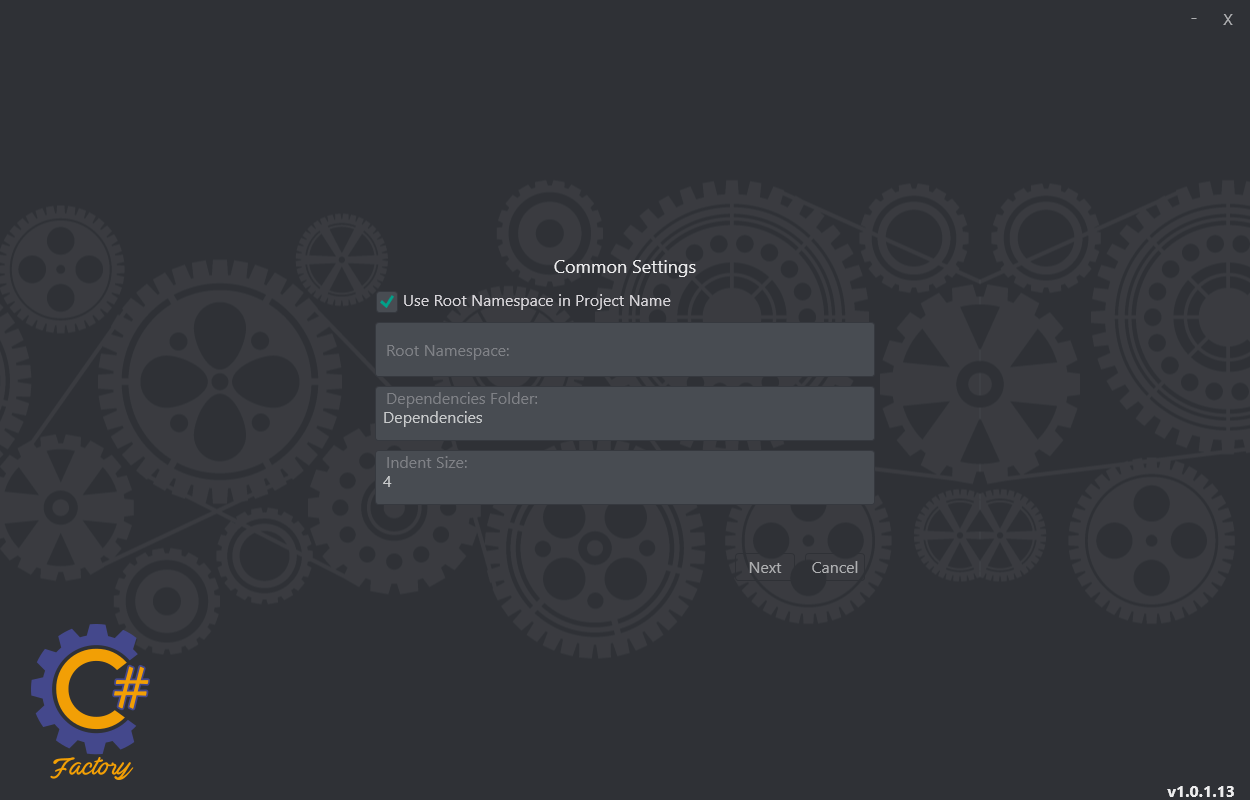
Common Settings
This screen only shows if it is the first model in your project. The Sharp Factory Framework supports multiple models in a single Model Container. This screen contains settings that are shared across all models in your project.
-
Use Root Namespace in Project Name: When checked the names of the Class Library Projects generated will be prefixed with the namespace specified.
-
Root Namespace: Specify the namespace that will be root for all C# code generated.
-
Dependencies Folder: The name of the folder under which the code will be generated. The projects will be generated inside this folder in Visual Studio.
-
Indentation: The number of spaces used to indent the generated C# code.
Click Next.
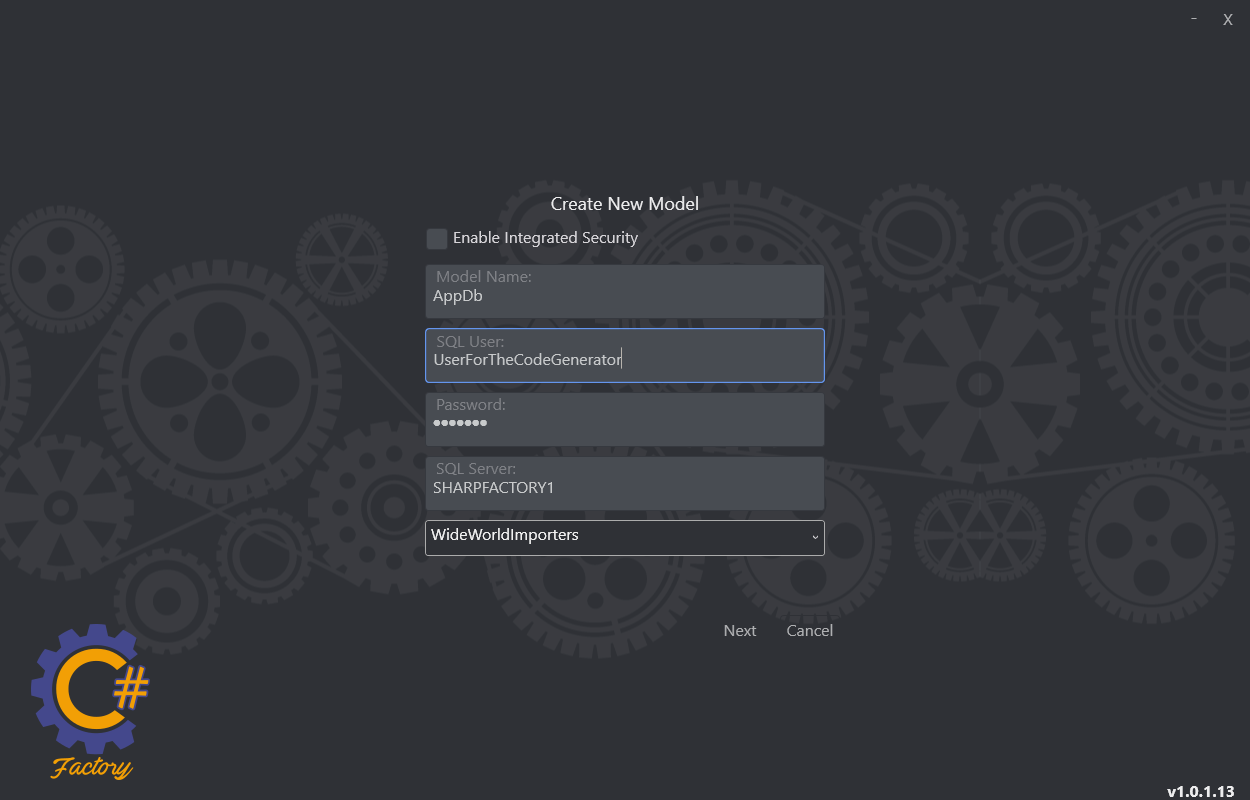
Connection Info
Enter your database server information in this screen. You will also specify your model name here. Please take into account that this is not the connection string that will be used by your application. This is just the connection string used by The Sharp Factory App to explore your database in order to generate the C# code.
-
Enable Integrated Security: If enabled integrated security will be used to connect to the database to generate your model.
-
Model Name: This is the name of the model in the generated C# code. Remember that you can have multiple models thus giving a meaningful name here is useful to later identify which model you are calling in your code.
-
SQL User: This is the SQL Server User that will be used in the connection. This field is only available if Enable Integrated Security is not checked.
-
Password: This is the SQL Server User's password that will be used in the connection. This field is only available if Enable Integrated Security is not checked.
-
SQL Server: Specify the SQL Server where your database resides.
-
Database dropdown: When the connection information is correct this dropdown will be populated with all the available databases in the server. Choose the one you wish to use in your model.
Click Next.
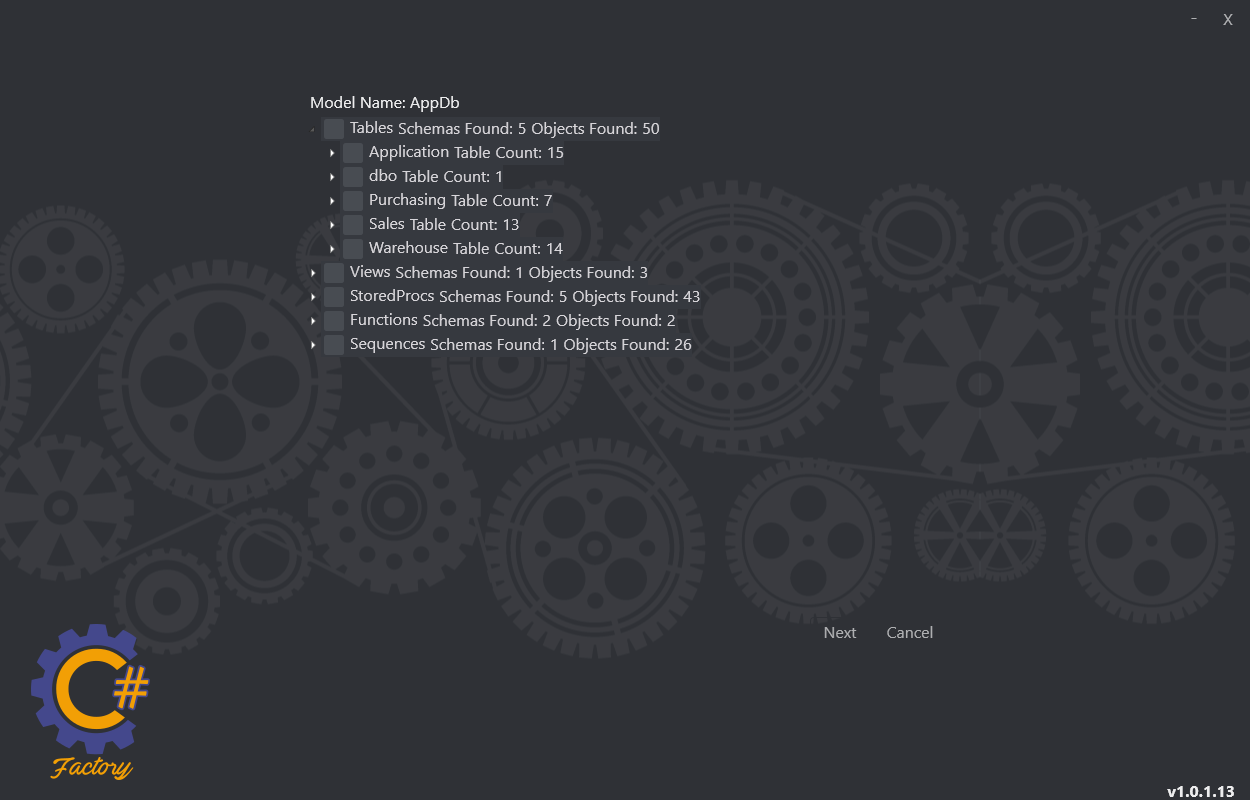
Database Objects
Now it is time to choose the database artifacts you wish to import into your model. You can choose: Tables, Views, Stored Procedures, Functions, Sequences. The objects appear organized by object type, schema, object name.
Click Next.
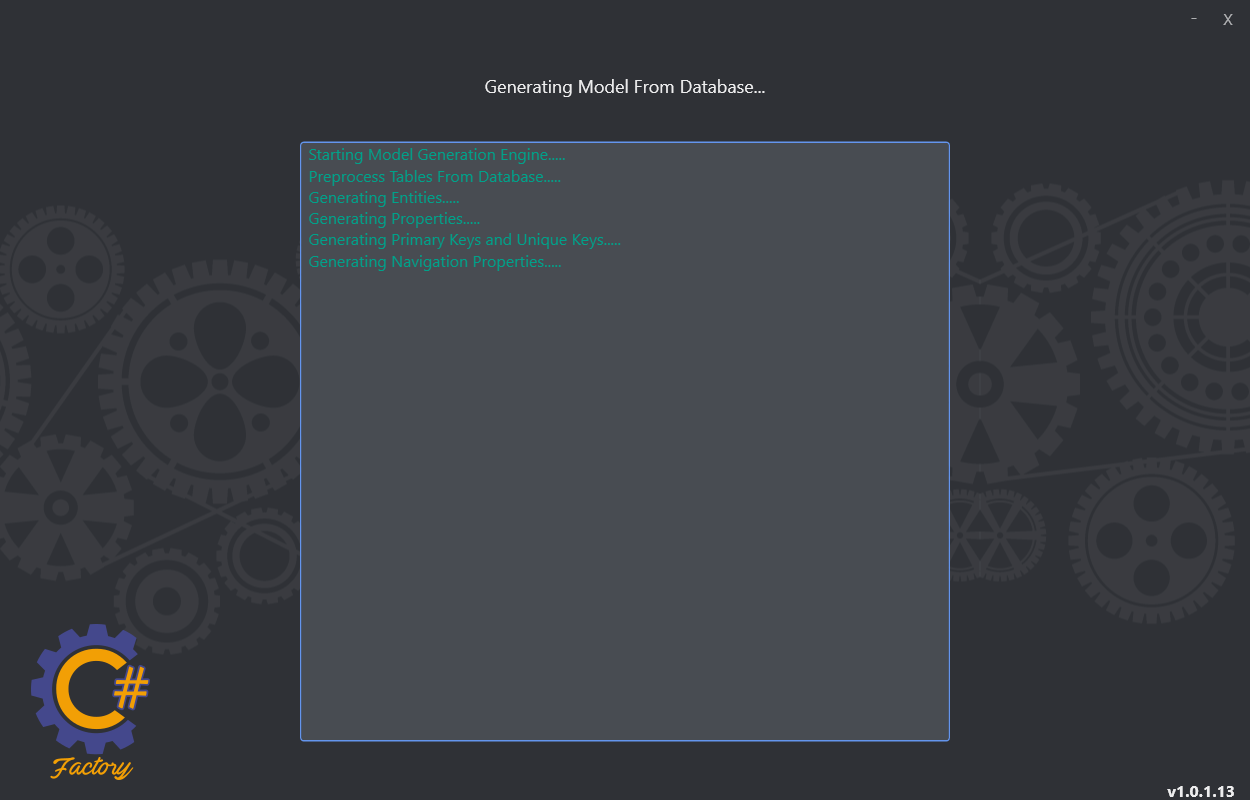
Generating The Model...
Once you choose the objects you wish to import and click Next a screen will output a progress report.
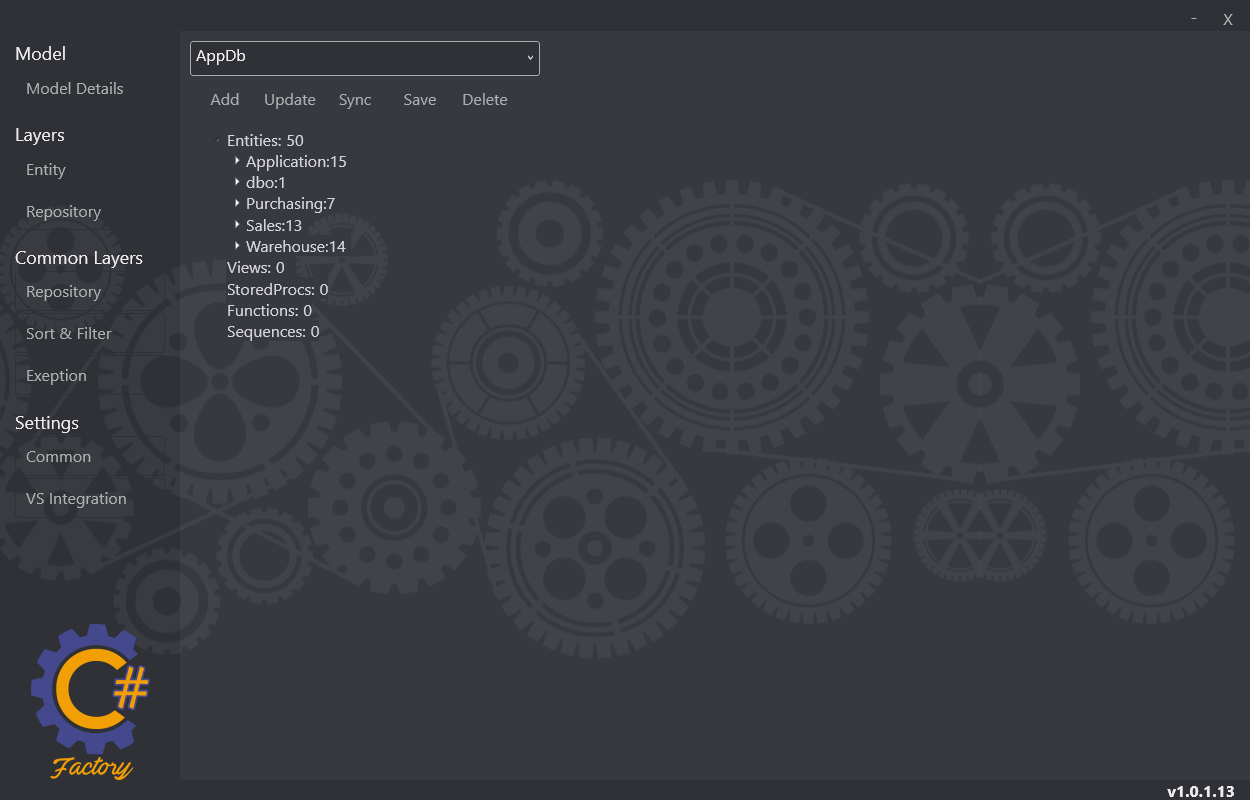
Model Details
Once the model has been generated; you will be taken to the Model Details screen. This screen is where you can manage all the models in your project and perform tasks like generating the C# code.
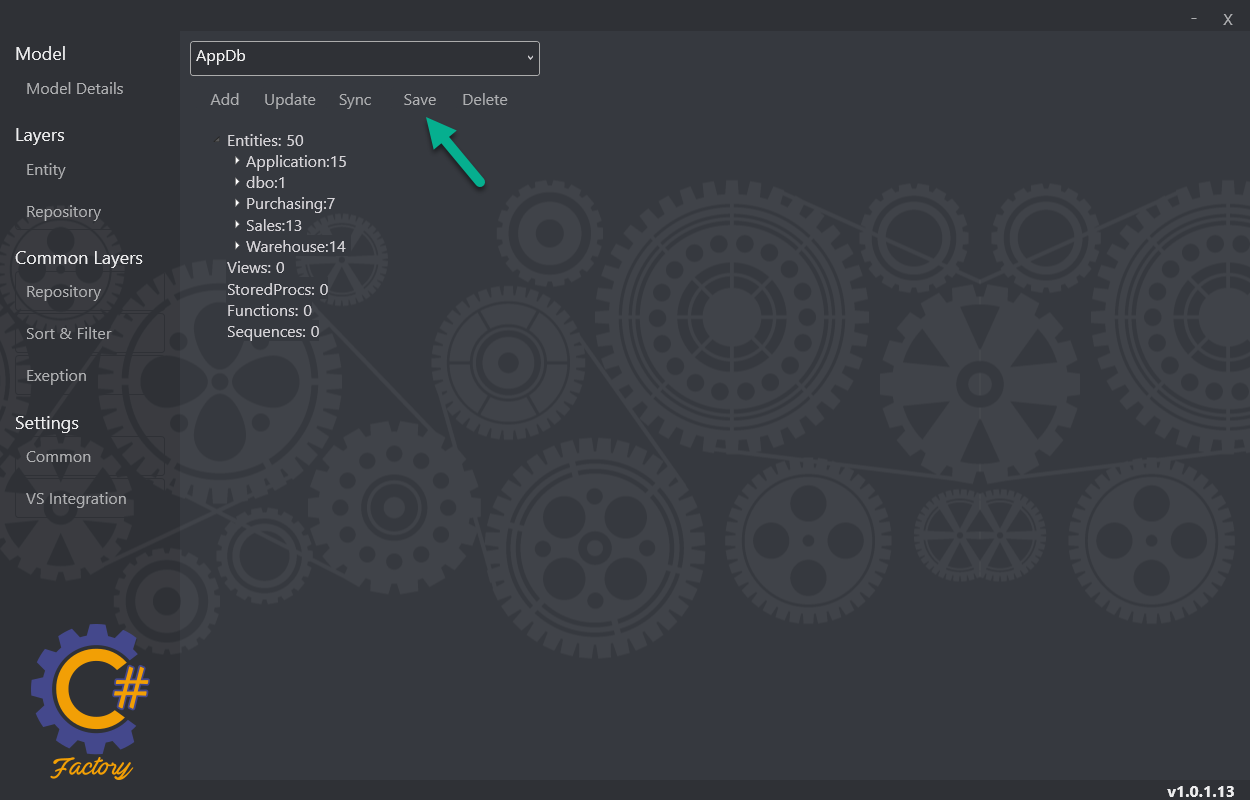
Saving The Model
After generating the model you should click Save and choose a folder to save to. We recommend you save your model file inside the Visual Studio Solution folder where the code is going to be generated.
You could save the model to a different location if you wish to reuse the model across multiple Visual Studio Solutions.
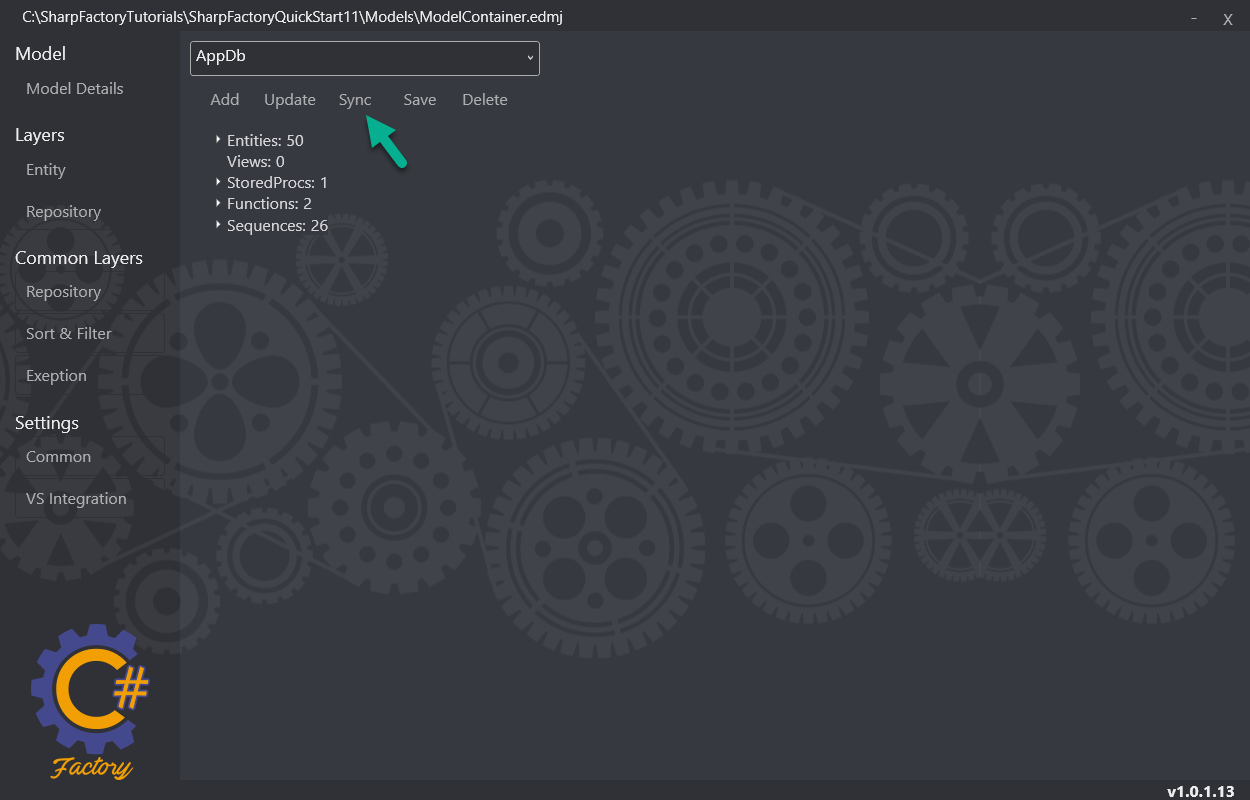
Once the model has been saved the full path to the model container file will be shown on the title bar of the screen.
Sync To Visual Studio Solution
Now that you have a model it is time to generate the C# code. The application will create all the projects if they don't exist. Otherwise, it will refresh or update the code. From the Model Details screen choose your model in the dropdown then click on Sync.
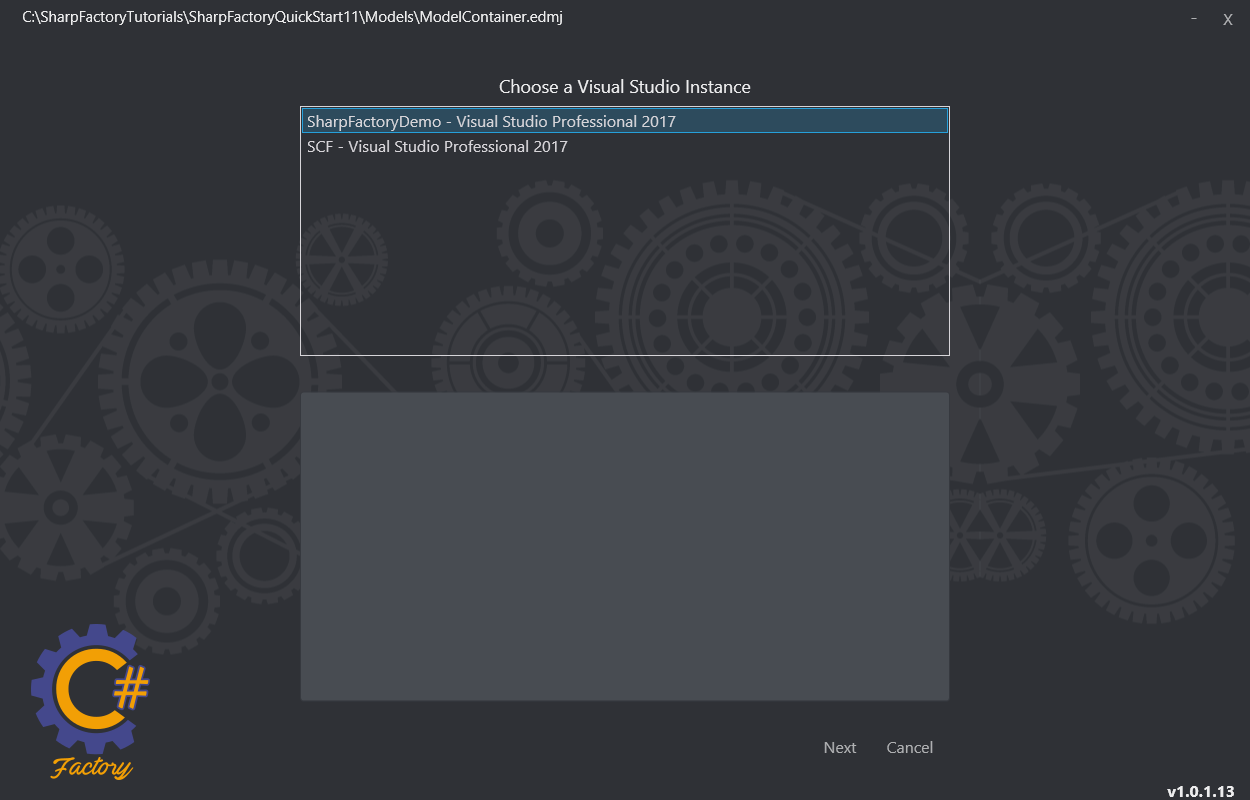
Choose Target Solution
After clicking Sync you are prompted to choose the Visual Studio Instance. In order to generate the C# code an instance of Visual Studio must be running with an open solution.
Click Next.
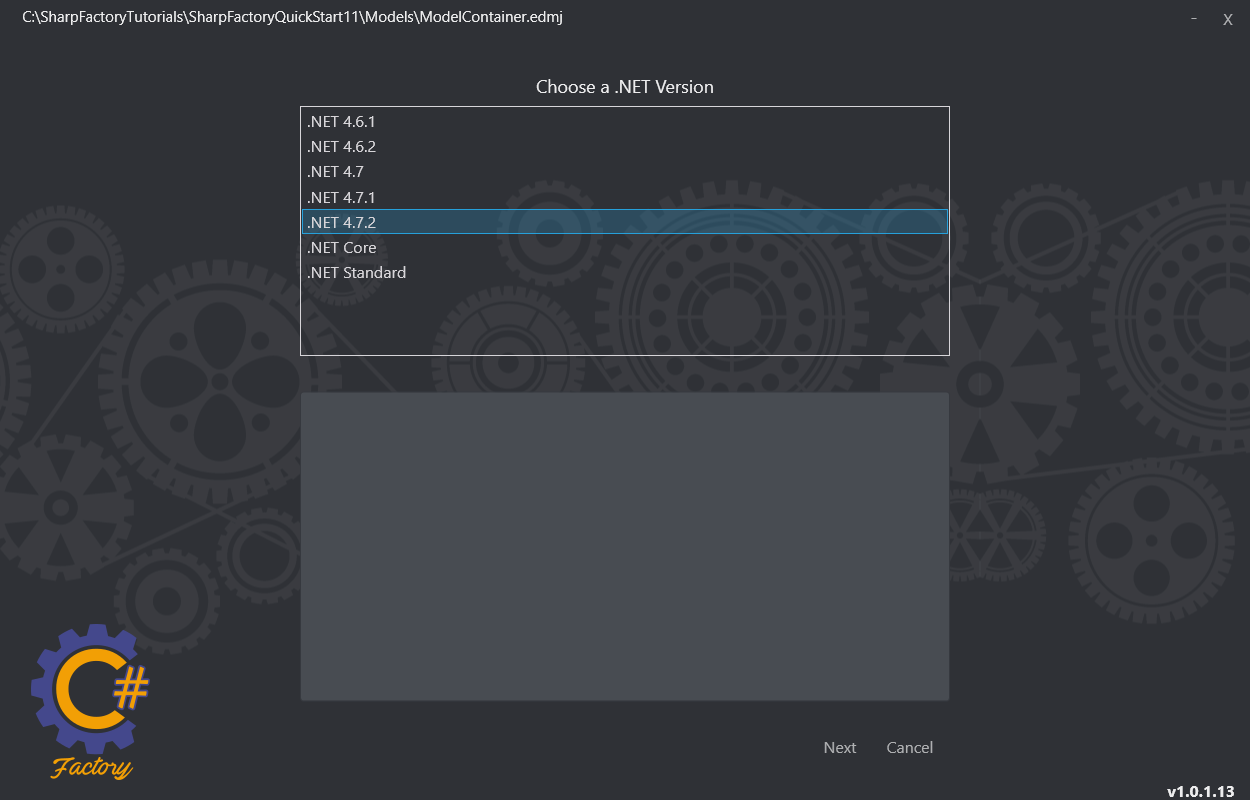
Choose .NET Version
Choose one of the available versions of .NET to be used when generating the C# code.
Click Next.
Entity Data Model JSON
The Sharp Factory Framework uses a proprietary JSON based format to store the model information. The extension of the file is .edmj. EDMJ stands for Entity Data Model JSON. It is a very lightweight format that ensures high performance for generating new models and parsing existing ones; even with hundreds or thousands of tables (or other database objects).
Next Steps
Now that you have generated all your code you will want to setup your application to consume the generated code. For more information got to Project Setup. There you will find how to configure your application to start interacting with your database using the generated C# code.